
Your Complete Guide to Cleaning Your Makeup Brushes
Well hello there lovely! It’s been a while since I did a skincare or makeup post, and I just recently taught a FREE online class via Zoom all about makeup brushes and how to keep them clean. While I was teaching, I realized this guide needed a place to live for easy reference, hence the creation of your complete guide to cleaning your makeup brushes! If you’re a skincare and makeup newbie (me about 1 year ago!) then you might first want to peruse this post I wrote all about your guide to makeup brushes. I’ll be honest, I used to use my fingers and/or whatever little cheap plastic brush came in the product I was purchasing until I realized that as I upgraded my skincare and makeup purchases to higher quality that I should probably invest in the right tools so that the products I used actually worked!
I’ll be the first to say you don’t NEED a million different makeup brushes, BUT you do need to keep them clean, and here’s why.

WHY DO WE NEED TO KEEP OUR MAKEUP BRUSHES CLEAN
I have absolutely driven myself crazy before because I thought my skin routine wasn’t working. I had invested money in really high quality skincare, and while my skin saw an initial HUGE improvement (thanks Countertime!) what I noticed a few weeks in was that I was seeing an increase in breakouts, dryness, and my makeup was NOT looking smooth and supple. Turns out the last time I washed my brushes was probably NEVER. So my friend gently suggested I look into my dirty brushes being a potential factor in my skin flares. Also turns out, she was right! The second I started cleaning my brushed regularly, my skin improved DRAMATICALLY. And here’s what I found:
Dirty brushes can:
Harbor bacteria that can create breakouts
Have a builudup of dead skin cells and oil on the bristles, which can lead to clogged pores, and dull skin
affect the way your makeup is applied and appears
Patchy, streaky, not smooth
Eye colors and blush pigmentation will be affected
Break down faster. Brushes are an investment and you want to treat them as such!
HOW OFTEN TO CLEAN THEM
Well if this ins’t the million dollar question!? I know you’re wanting me to tell you that it’s ok if you just clean them every couple of months, right?? Well, I hate to break it to you sister, but you might need to clean a bit more often. According to the American Academy of Dermatology, ideally, you’ll want to clean your brushes every 7-10 days. I know, I know, that seems like a lot right?! While that may be a stretch for some, here’s what I do:
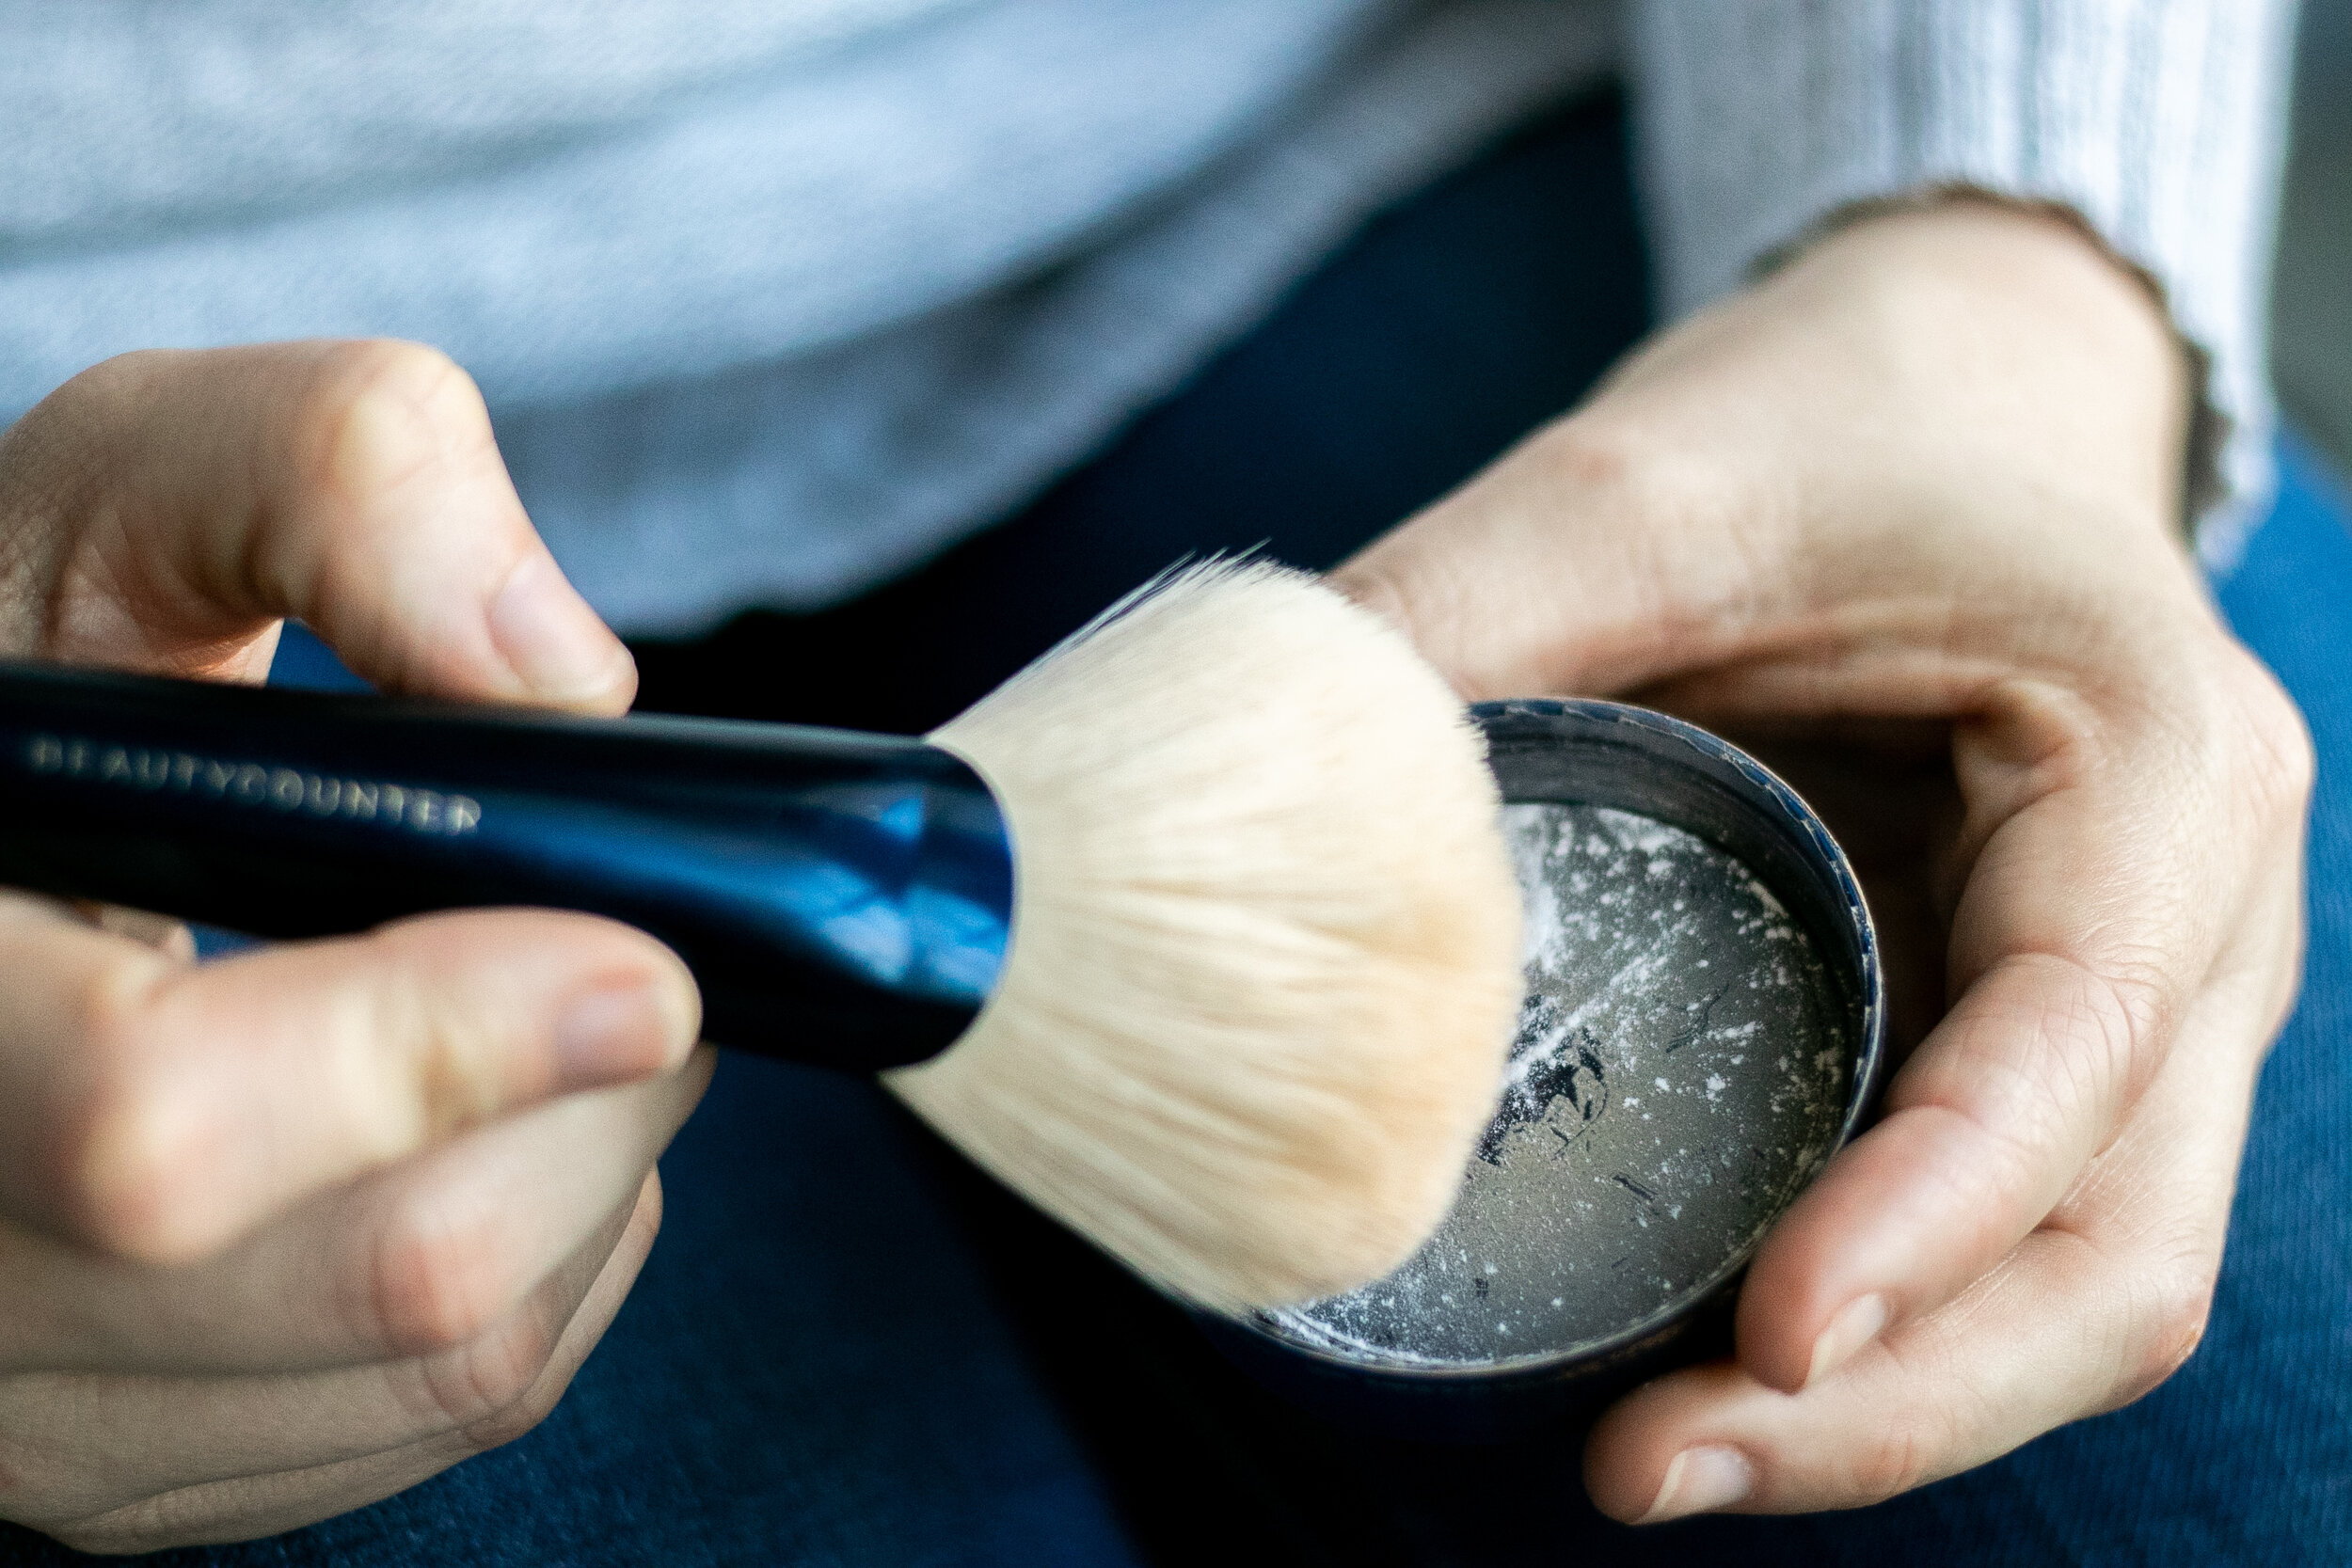
I TRY (operative word try) to clean my foundation brushes every week (usually on Sundays). These ones can really affect your foundation application quickly if not clean
All of my other brushes I try and do 2x/month
MINIMUM of once monthly
In between washes, I’ll grab a bambooee reusable towel or a microfiber cloth (I like Norwex) gently wipe off the bristles to help keep them more clean
HOW TO CLEAN YOUR MAKEUP BRUSHES
So now that we’ve talked about the whys and the whens, let’s talk about the hows! The process of actually cleaning your brushes should take less than 5 minutes! YES FIVE MINUTES. Like I said, I usually do mine on Sundays when I’m not really planning on putting on makeup. Here’s what you’ll need to gather to get started:
SUPPLIES:
Unscented Dr. Bronners liquid castille soap (any gentle soap will do here - you can also use a square of charcoal bar, or this shampoo)
Small bowl
Warm/hot water
2-3 Hand towels
Sink
STEPS:
Gather your supplies, fold over one end of your hand towel to create a ridge that will make a slight incline so your brushes can dry slightly tilted down
Fill a small bowl with warm water, and let your brush bristles sit in the water for a minute or so. Ensure the water is VERY SHALLOW, you don’t want to soak your bristles too long or too deep so as not to compromise the structure or integrity of the glue or the handle.
Fill a second small bowl with your soap OR take your charcoal piece and put it in the small bowl with a little bit of warm water to moisten it.
Take your brushes out of the warm bowl of water and choose your first brush. Run the bristles under warm/hot water in the sink, using your hands to gently agitate the bristles to get the water throughout. Once the bristles are wet and you’ve removed some of the product, dip the bristles into your castille soap bowl. If you’re using a charcoal bar, you will need to rub the bristles over the charcoal bar piece, potentially picking up the bar and using the bar in your hand to scrub the bristles.
Once the soap is all over the bristles, use your fingers to gently work the suds through the bristles. Depending on how dirty your brushes are this can take anywhere from 30 seconds to 2 minutes.
Once you’ve scrubbed the bristles, turn your sink water back on to warm/hot and run the bristles under the water, using your fingers to scrub the soap out of the bristles.
Depending on how dirty your brush is, you may need to repeat the soap and water process several times, until the water runs clear.
Take a clean hand towel and lightly squeeze the excess water out of the bristles. I also like to gently rub the bristles and/or swirl them gently on a clean hand towel for faster drying. With fluffy bristles I find this step helps them retain their fluffy shape better.
Once you’re brushes are clean and the excess water is removed, set the handle of the brush on top of the ridge portion of your hand towel so that the brush is at a slight incline (bristles pointing down). Repeat for your remaining brushes.


TIPS AND TRICKS:
It can take quite a while for brushes to dry, so make sure you plan to go makeup free for about 24 hours after washing. OR you could wash your brushes on a rotation.
Never store your wet brushes bristles up. Water can leak down into the handle and compromise the brush.
For fluffy brushes, don’t forget the swirl step above.
If you use a charcoal piece, don’t forget to remove it and store it in a dry place to increase it’s life.
I don’t recommend blow drying your brushes - it can compromise the glue and bristles depending on how your brushes are made.
If you really want to get serious, you could invest in a brush cleaning mat. I’ve never personally used one, but they look fun!
And that’s it! This simple step of cleaning your makeup brushes regularly can make a big impact on your skin health and the way your makeup looks! I use to be intimidated by the thought of cleaning my brushes regularly, but now that I know how fast and easy it is, it’s something that brings me joy! There’s something incredibly cathartic about taking a dirty brush, and watching it become squeaky clean and fluffy again! I hope this becomes a great resource for you in keeping your brush investments clean!