
Your Guide to Makeup Brushes
So I think this bears repeating, I’m no makeup expert. That’s right, Ive only recently discovered a love for makeup in my 30s and let me tell you it has been quite the learning curve! What I lack in experience, I’ve certainly made up for in endless hours of research, so I’m making it my mission to demystify the world of makeup….just in case you’re like me. What I want to dive into today is makeup BRUSHES. To be honest, there are tons of brushes and blenders, and sponges out there and I’m sure there a million and one ways to apply your makeup that I don’t even know about, but my aim is to provide a little guidance with the handful of brushes I actually use on a daily basis. What they’re for, and how to use them!

HOW ARE THEY MADE?
Before we start on the individual brushes, let’s talk about how they’re made. Just like our makeup, skincare, and body products, we make every effort to create brushes that meet our high standards for performance and safety. Our brushes are:
100% cruelty- and animal hair-free.
Bristles made from taklon, a synthetic polyester-derived fiber that is soft allergy friendly and cruelty free alternative to animal hair.
Brush handles made from FSC-certified wood, and coated with water-based paint.
Our brushes are also weighted at the bristles to help you apply color in an ergonomic fashion.
To keep water out of the handle and extend the life of your brushes, we’ve also put a metal ring around where the brush head meets the handle.

THE FAVORITES
1.Retractable Foundation Brush - I have to admit, I was absolutely skeptical of this retractable foundation brush before I purchased it during one of our Flawless in Five events many moons ago. Not only was a semi-new to makeup and liquid foundation in general, but I was so sure that recommending a brush or tool for application other than my fingers was just some marketing gimmick. Lo and behold, I stand corrected! While I still use my fingers to apply my Tint Skin Foundation from time to time (especially if my brushes need cleaning), I hands down get the most smooth and even application of foundation when I use my foundation brush.
How to use: This brush is specifically designed for use with the Tint Skin Foundation and Dew Skin Tinted Moisturizer, so it’s extra perfect. I like to dab 5 dots of product onto the brush and then press the foundation onto my face, targeting my T-zone mostly, and then blending outward with even strokes. This will center more of your product in the middle of your face where redness tends to be, and prevent you from having a harsh foundation line around your chin and jaw. I will clean this brush more often than my others (probably once every 1-2 weeks, versus once a month with my others).
NEWS FLASH: From now until January 27th, 2020 you can snag this brush for FREE ($35 value) with the purchase of any Flawless in Five set - AMAZING.
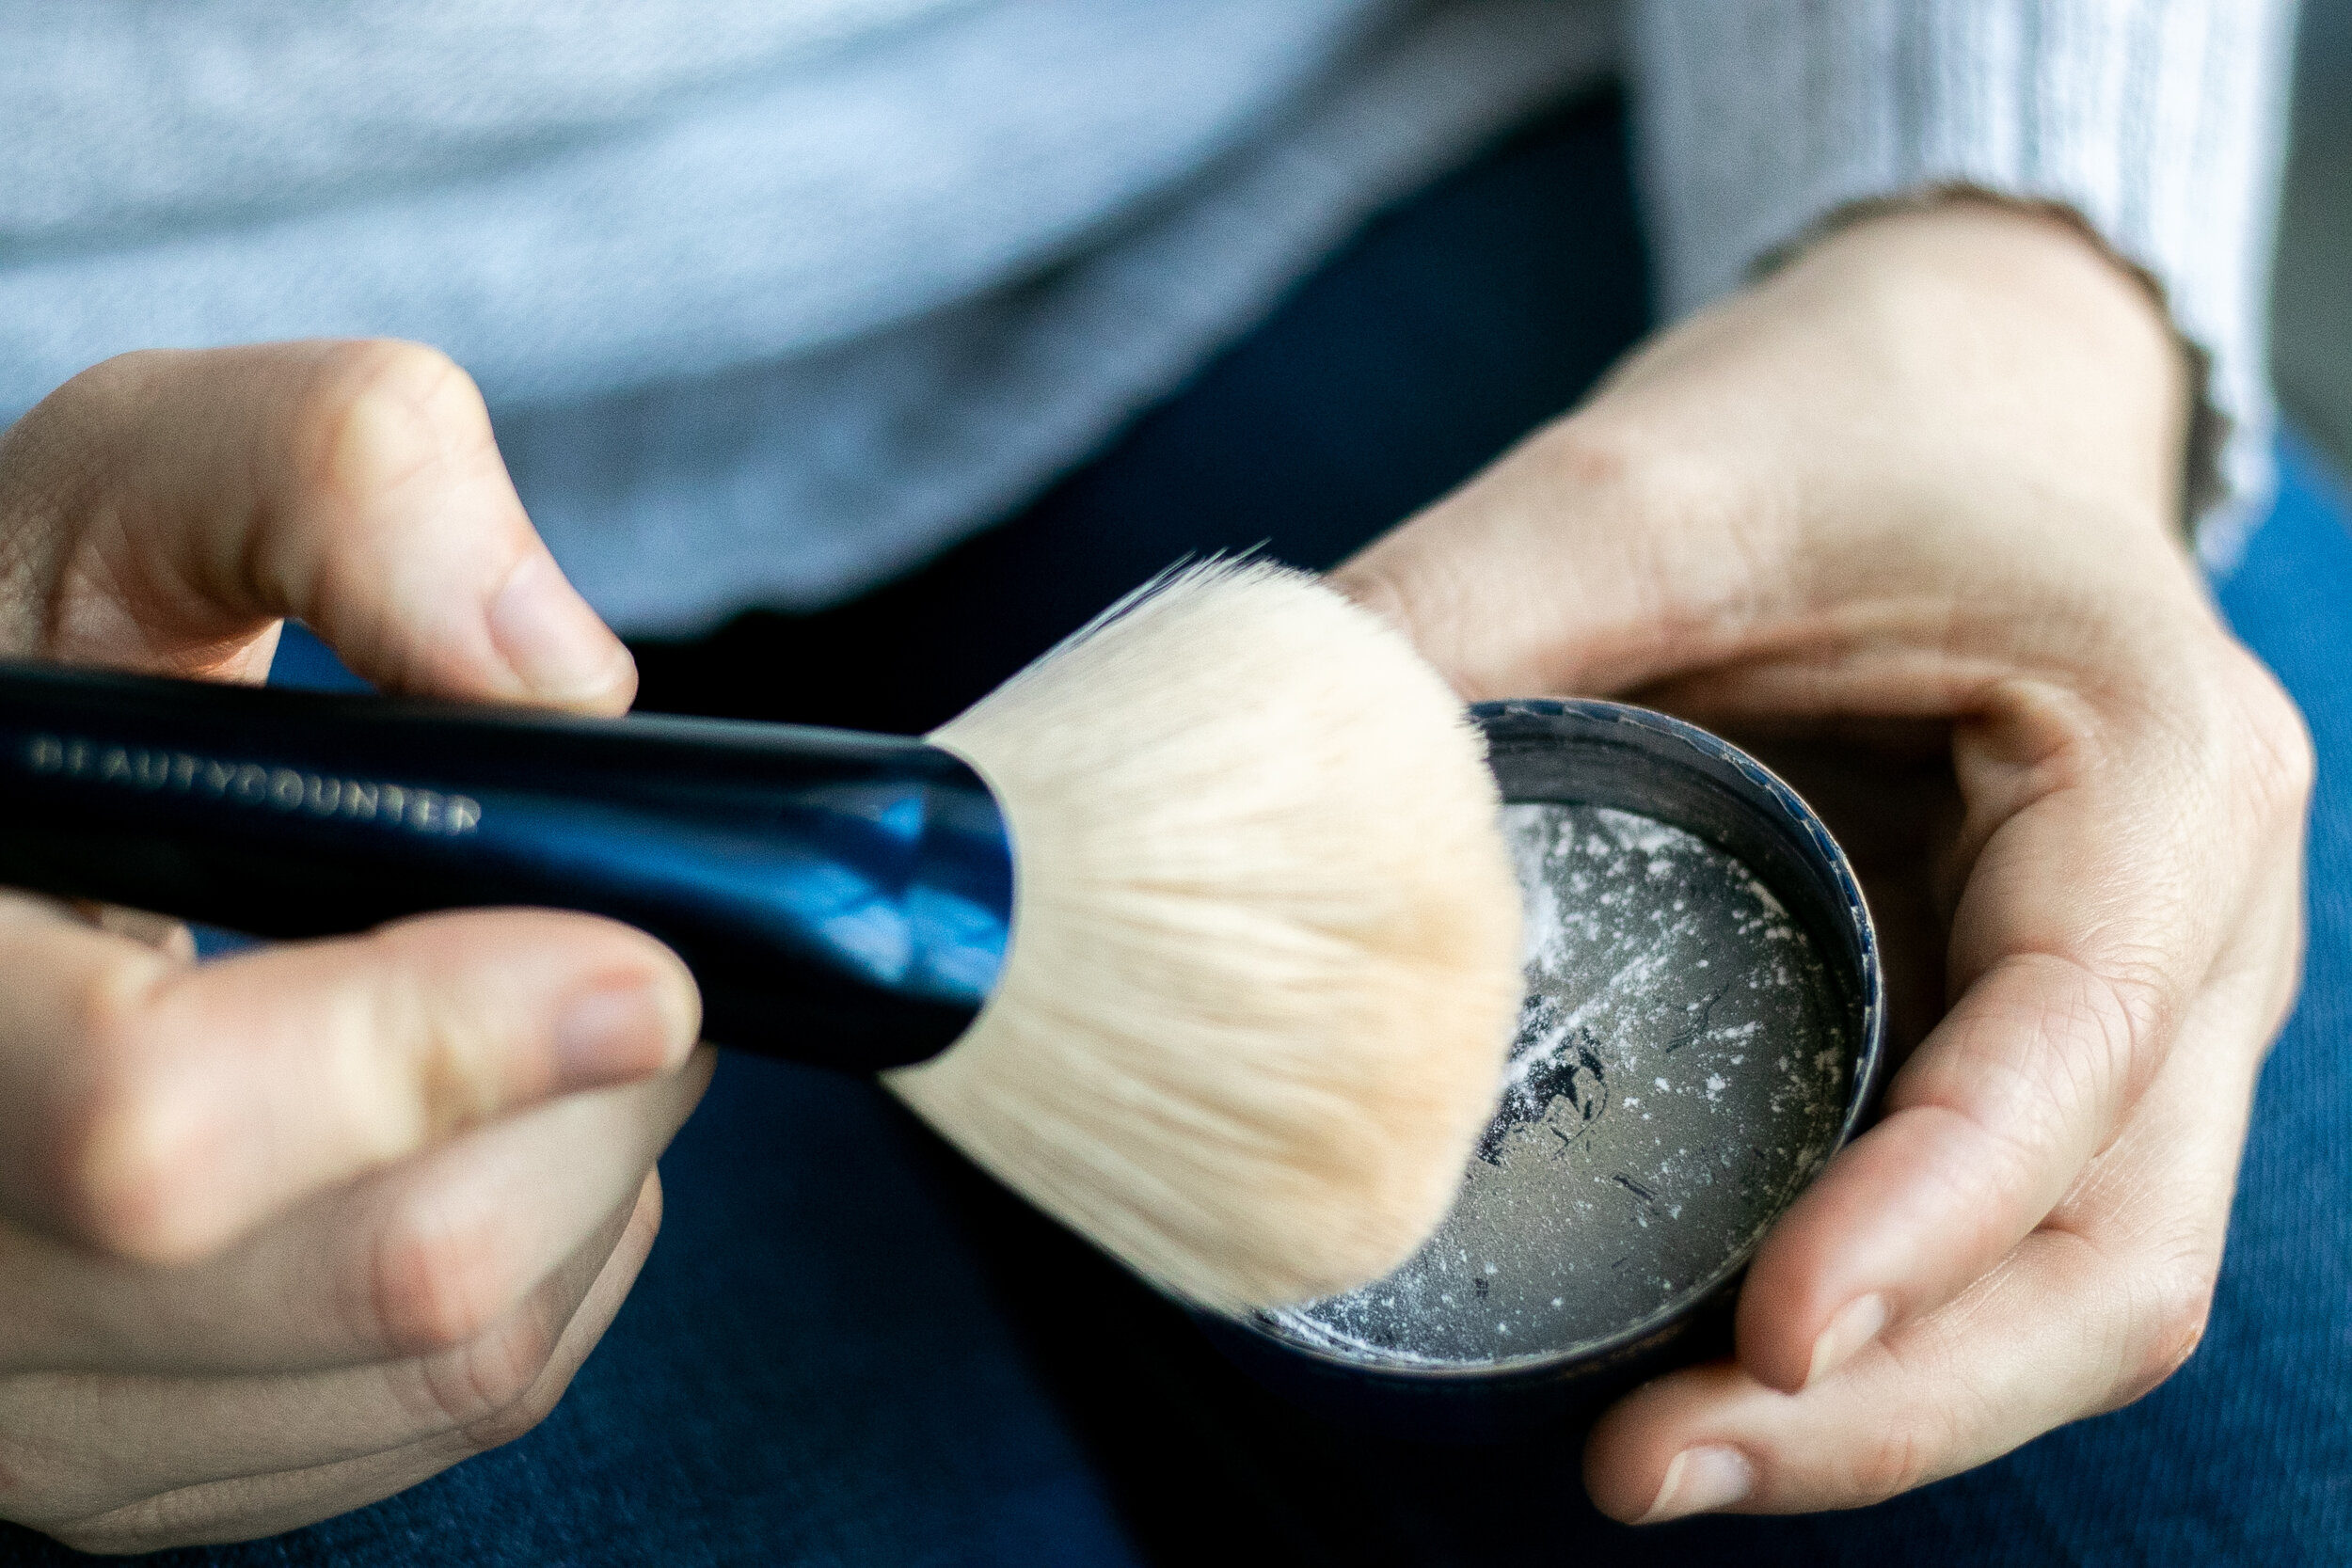
2. Fan Powder Brush - This fan powder brush is also a must have brush in my bag. If it comes with me when I travel, then you know it’s important, because hard decisions must be made when we’re trying to travel light! This brush I use every. single. day.
How to use: This brush has large fluffy bristles that are designed to be used with bronzer, powder highlighter, and a finishing powder like the Mattefying powder. For me, I use it pretty much exclusively with my Mattefying Powder. I tap a small amount of product into the lid of the powder and then swirl the bristles lightly around and then tap off the excess powder back into the lid to avoid a clowlike application. I’ll then buff lightly into the skin. The Mattefying powder is much like a finishing or setting powder that is translucent and provides a matte appearance by soaking up excess oils and reducing shine.
NEWS FLASH: You can purchase this brush alone, or as part of the Essentials Brush Set.

3. Angled Blush Brush - Another must have for me is my angled blush brush. I like to keep my colored brush applicators separate from my mattefying powder applicators to avoid depositing color when it’s not appropriate! This angled brush, I’ll use for bronzer, blush, and to be honest, I’ve gotten a second one to use for powdered highlighter application too! You don’t NEED two, but if you wanted two, it definitely makes life easier!
How to use: Because our blushes and bronzers are so pigmented and high performing, remember to start light with color and build as needed! I press and dab the brush into my powder, and then tap off any excess before applying. For my blush, I smile (kind of exaggerated) and then gently press and sweep the product onto the apples of my cheeks and slightly up along the cheekbones.
NEWS FLASH: You can purchase this brush alone, or as part of the Essentials Brush Set.
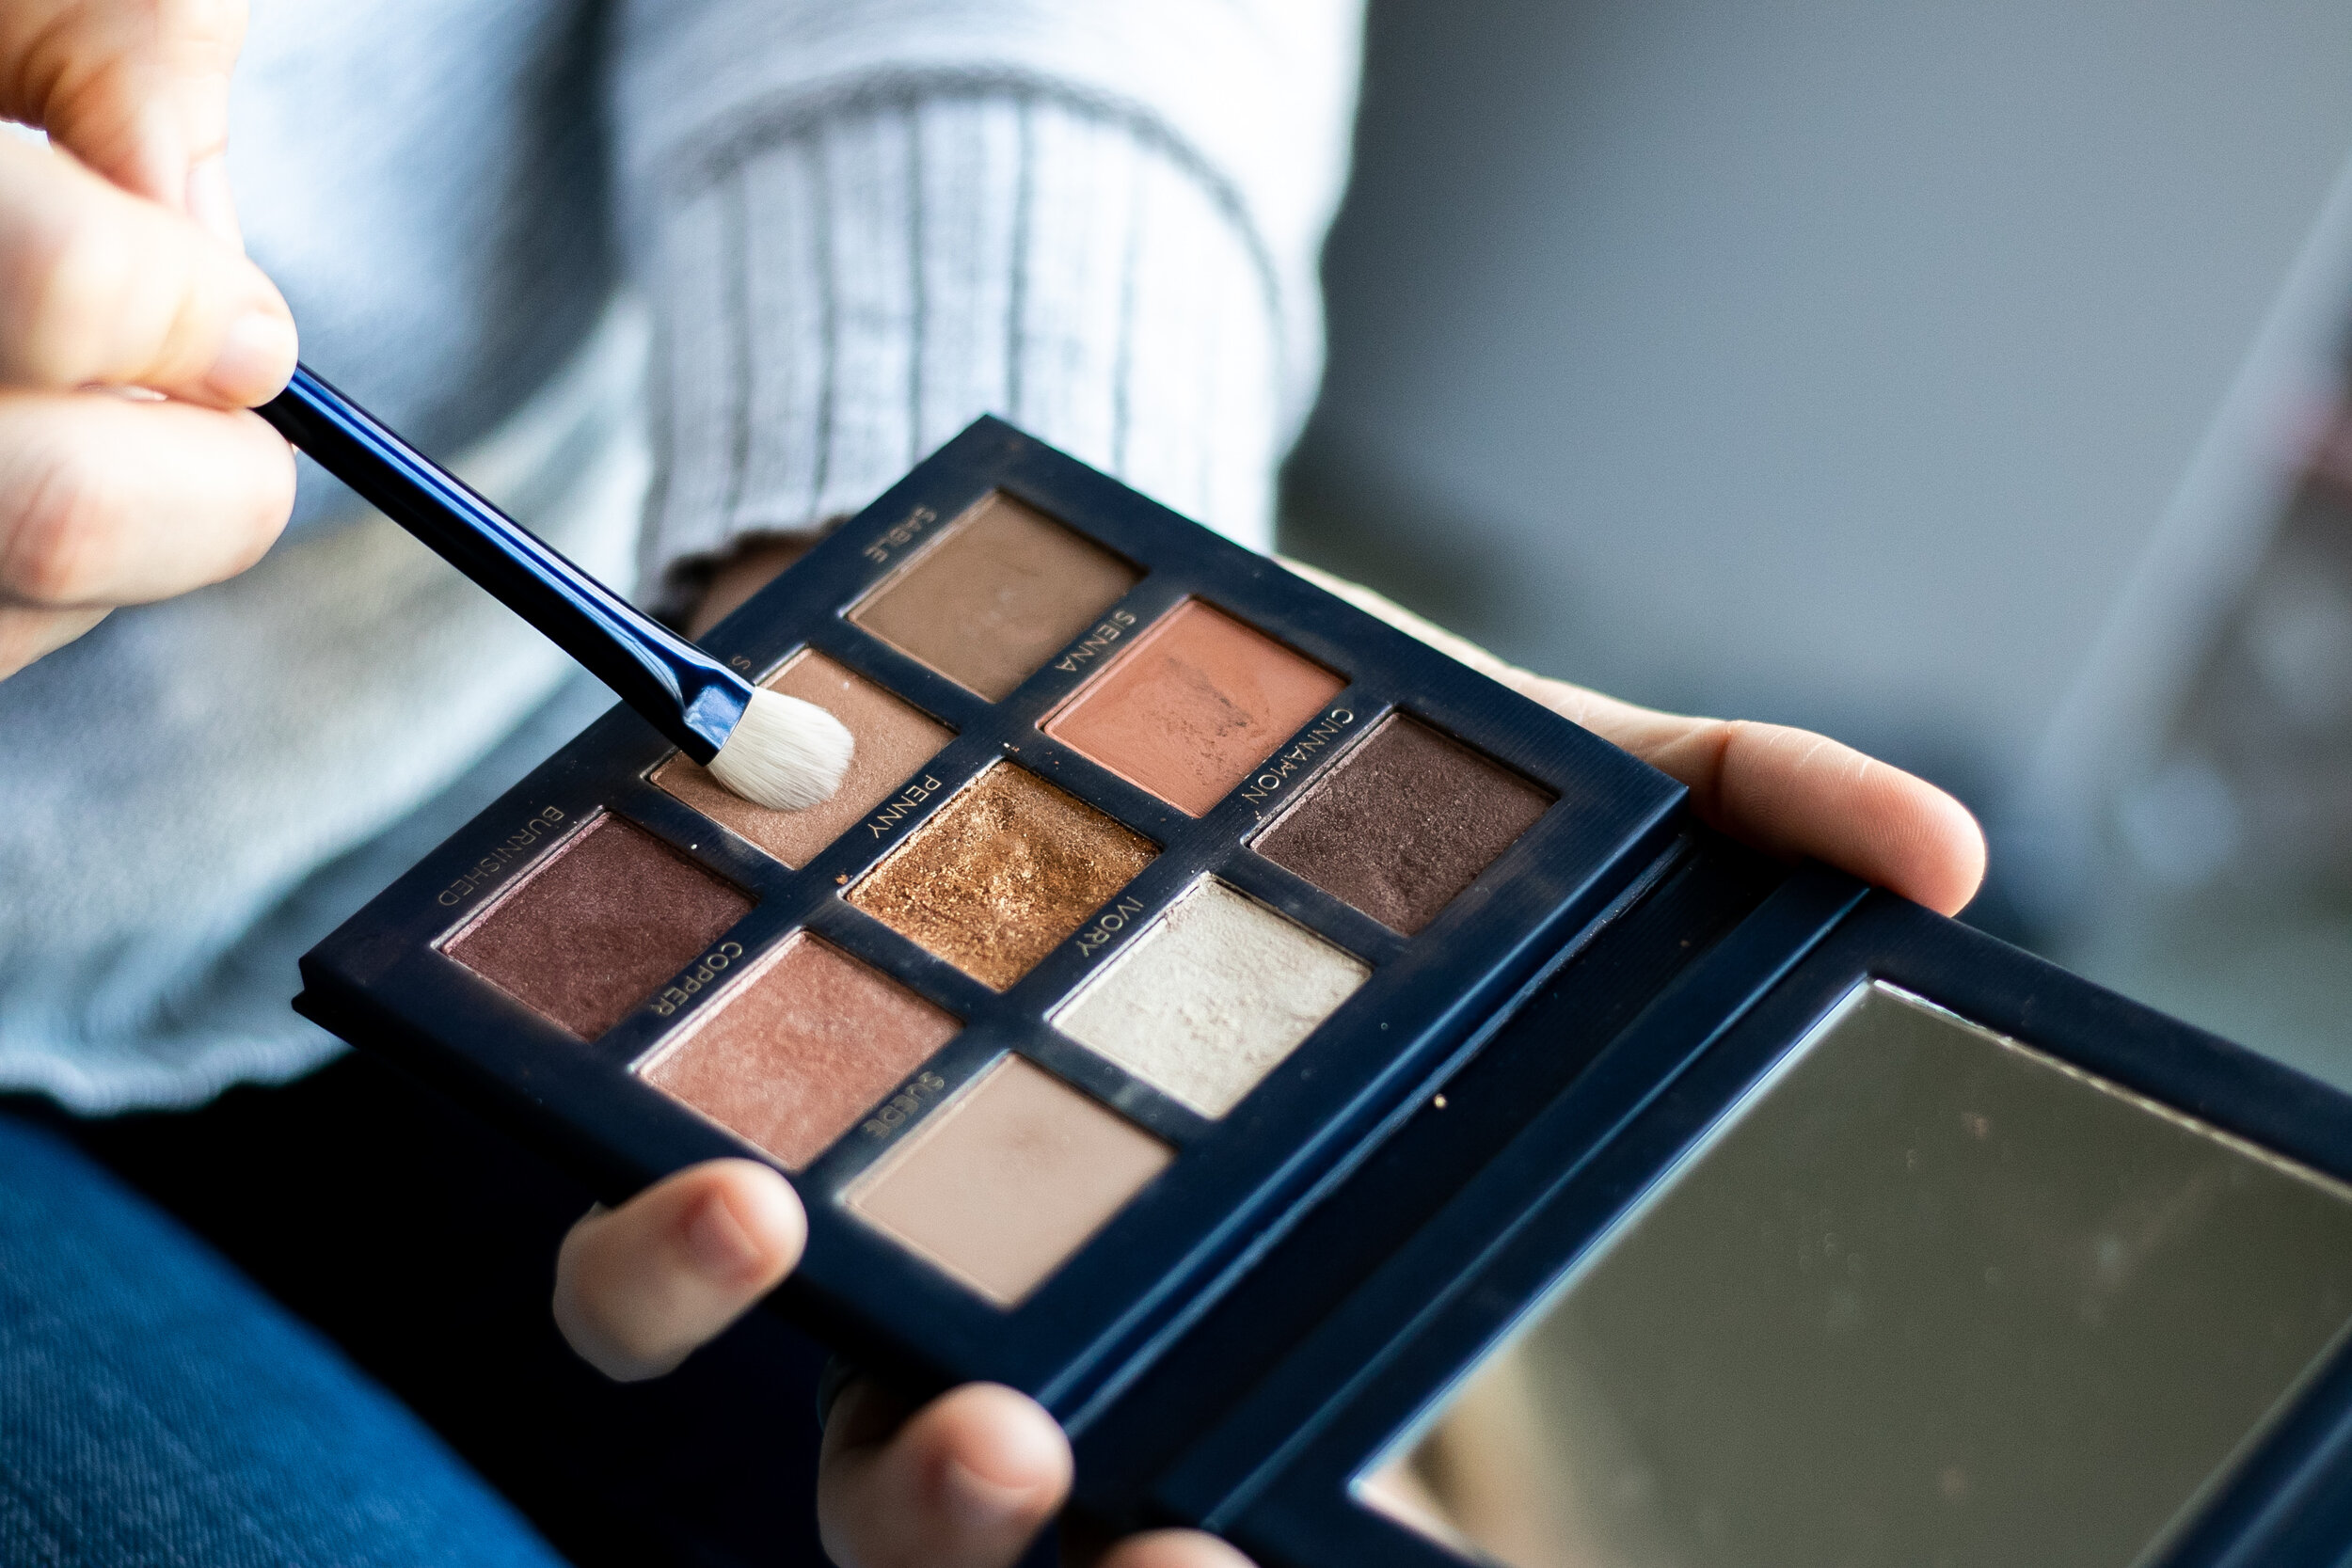
4. All Over Eye Brush - This is my GO TO eyeshadow brush! If I’m in a hurry and don’t want to bother with contouring or shadowing or any sort of “technique” when it comes to eyeshadow application, I’ll reach for this all over eye brush and this brush only. It’s a rounded brush, designed exactly for applying eyeshadow to the lids. I love that the bristles are compact and a bit less “fluffy” so that you can get your color deposited with less what we call “fallout”. Fallout is when you get particles of the color dusted on areas of your face you DON’T want it…like around your temples or brow, or cheeks.
How to use: This one is super straightforward! Press the bristles into your eyeshadow of choice, tap the excess product off first, and then sweep and blend it across the lid.
NEWS FLASH: You can purchase this brush alone, or as part of the Essentials Brush Set.

5. Crease Eye Brush - This crease eye brush is another must have, if you’re really wanting to artfully learn to apply a an eyeshadow with a little bit more technique. When I first started learning how to apply shadows, I would pick one color and swipe it over the entirety of my lid and call it good. And it was good, but as I learned more and started seeing these gorgeous looks with eyeshadow applications that had what I’d call “depth”, I started wondering how I could recreate them myself. Turns out, all you really need is the right brush and the right palette and the opportunities are endless! This little brush is dome shaped, and designed for more precision application and blending in the eye creases to create depth to a look.
How to use: Press the brush into eyeshadow, tap off any excess, and sweep and blend into the contours of the eyelids (these are your inner and outer creases of your lid, as well as the actual eye crease below your brow bone.
NEWS FLASH: You can purchase this brush alone, or as part of the Essentials Brush Set.

6. Flat Complexion Brush - I’m adding this flat complexion brush in at the last minute because it’s a recent addition to my brush collection that I just cannot live without henceforth. This is a flathead brus that is initially designed to be used with liquid foundation or concealer, HOWEVER, I don’t use it for that…because I’m a rebel like that! I actually use this to apply my weekly charcoal mask and I’m never going back to finger application! Not only does it keep my hands clean, but I use less product, and it ends up being a more even application.
How to use: Squirt a small amount of charcoal mask onto the bristles and then apply the mask in smooth strokes all over the face, working from the middle of the face and moving outward. Rinse and hang upside down to dry afterwards!
That’s it my friends! I’ve broken down the overwhelming world of beauty brushes for you and it all comes down to a handful of essentials. I’m sure you can add about 54367 other brushes that would make your look even more EXTRA! But for those of us trying to adhere to any semblance of a more “minimal” approach, these are the top brushes I’d go for when choosing to invest in some high quality, safer for you/environment makeup brushes. I hope this has been helpful!